

Last Updated: November 10, 2026
Quick Summary
Egress window replacement starts with confirming your local code’s minimum opening size, then choosing between an insert and a full replacement. Casement windows give the largest clear opening, while sliding and hopper styles suit tight spaces but may fall short. Permits and inspections are required before the opening is cut.
- Confirm local egress size requirements with the building department before choosing a window.
- Casement windows provide the largest clear opening of the three common styles.
- Inserts work only if the existing opening already meets egress size requirements.
- Locate rebar or block cores and utilities before cutting into the existing wall.
- Leave the opening uncovered until the inspector signs off on the header, frame, and well.
Table of Contents
- What an Egress Window Has to Do
- Basement Egress Window Styles Compared
- Basement Window Replacement Inserts vs. Full Replacement
- Retrofitting an Existing Opening vs. New Construction
- Basement Egress Window Installation Steps and Permits
- Basement Egress Window Replacement Options Cost Breakdown
- Maintenance and Long-Term Durability of Egress Windows
- Requesting a Quote for Your Egress Window Project
- Frequently Asked Questions
What an Egress Window Has to Do
Homeowners who want a bedroom or finished space in the basement need a way out if there is a fire, which makes egress window replacement the first thing to plan. An egress window is the required emergency exit from a basement sleeping area, and it has to meet size rules before anything else about the replacement matters.
Egress windows must provide a clear opening large enough for an adult to climb through in an emergency. Before you compare styles or prices, confirm what your local code requires for the room you plan to finish. The International Residential Code egress requirements set the baseline most jurisdictions adopt, though local amendments can change the numbers.
The window also has to work as a usable opening, not just a hole in the wall. That means it must open without tools, and the sill must sit at a height a person can reach from inside. A window that looks right but fails these tests will not pass inspection.
Basement Egress Window Styles Compared
Three operating styles cover most replacement projects. Each one trades clear opening size against ease of use, ventilation, and maintenance.
| Style | Clear Opening | Best For | Main Drawback |
|---|---|---|---|
| Casement | Large, full swing | Maximum egress size | Needs room to swing outward |
| Sliding | Moderate, half the frame | Tight window wells | Smaller clear opening |
| Hopper | Limited, bottom-hinged | Ventilation and privacy | Rarely meets egress by itself |
Casement Windows
Casement windows hinge on one side and swing outward, which gives the largest clear opening of the three. For most egress projects, a casement is the easiest style to get through code. The trade-off is that the window well must leave room for the sash to open fully, which affects how deep the well needs to be.
Sliding and Hopper Windows
Sliding windows move horizontally on a track, so they never swing into the well. That makes them a practical choice when space is tight. The clear opening is only about half the frame, so check the numbers before you buy. Hopper windows hinge at the bottom and tilt inward. They are useful for ventilation but seldom meet egress requirements alone.
Basement Window Replacement Inserts vs. Full Replacement
You can replace the window sash inside the existing frame, or replace the entire unit including the frame. Inserts cost less and avoid cutting the foundation, but they only work when the existing opening already meets egress size. If the current opening is too small, a full replacement is the only option that will pass.
Full replacement means cutting the foundation wall and setting a new frame. It costs more and takes more time, but it gives you the size you need and a fresh unit that will last longer.
Retrofitting an Existing Opening vs. New Construction
Most egress guides assume the foundation is still open to planning, which is why they rarely explain what happens when you have to cut a window into a finished basement wall. Retrofitting is a different job from new construction, and the differences show up in the sequence of work, the tools, and the risks.
In new construction, the builder can place a header and a rough opening before the wall is poured or the block is laid. In a retrofit, the crew cuts through an existing poured concrete or concrete block wall. Poured concrete usually carries reinforcing bar, so the crew has to locate it before cutting. Block walls are hollow in places, and the cut has to be planned around the cores and any grout fill. A typical retrofit begins with exploring the wall with a scanner, marking the rebar or block cores, and then making the opening with a saw or core-and-chisel method.
Once the opening is cut, the wall above it has to be supported. A header carries the load that the removed section of wall used to carry, and its size depends on the width of the opening and the loads above it. In a single-story house, a modest header may be enough. In an older two-story house or a home with heavy loads near the opening, the header has to be designed for the actual conditions. Crews often install temporary shoring before cutting so the wall does not move while the opening is open.
The window well is the other element that changes in a retrofit. The well has to be set against soil that was graded for the original house, so the crew checks the existing drainage and the depth of the excavation before placing it. A well that is too shallow can flood, and one that is too deep may need a ladder or steps to meet the exit requirement.
Watch out: cutting into an unknown wall can expose electrical runs, gas lines, or plumbing, so locate utilities before the first cut.
For older homes, expect the wall condition to set the schedule. Cracked or water-damaged concrete, deteriorated block, or a header that is undersized for the new opening can all add work before the window itself can go in. Ask the contractor to check these items before giving a quote, because they are the factors that most often change the scope.
Basement Egress Window Installation Steps and Permits
The installation sequence is simple to describe and easy to get wrong. The permit and inspection steps in particular are where most DIY projects run into trouble, so this section walks through them in order.
Step 1: Confirm the requirements. Contact your local building department and ask for the egress requirements that apply to a basement sleeping room. Ask for the minimum clear opening height, width, and total area, the maximum sill height above the floor, and whether a ladder or steps are required for a well deeper than the code threshold. Write down the answers and the name of the person who gave them.
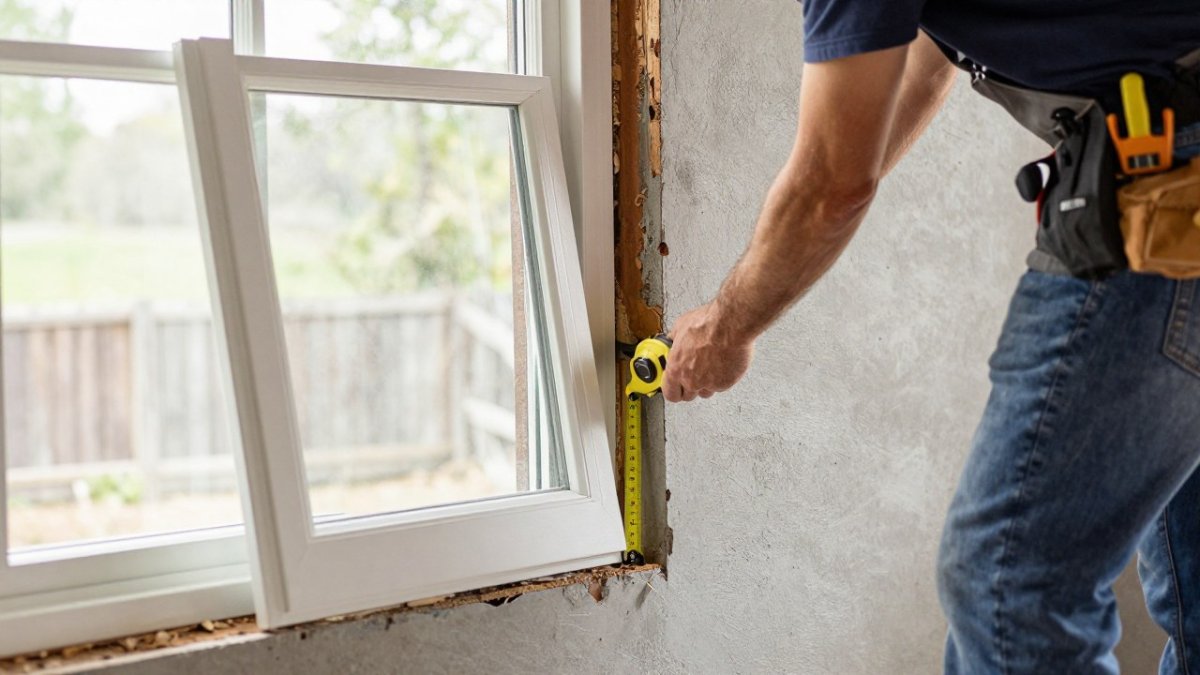
Step 2: Measure the existing opening and wall. Measure the width and height of the current opening, the wall thickness, and the depth from the floor to the bottom of the sill. Check whether the wall is poured concrete or block, and look for cracks, efflorescence, or water staining. These observations determine whether an insert will work or a full replacement is needed.
Step 3: Prepare the permit application. Most jurisdictions require a permit for egress work because the opening changes the structure. The application usually asks for a site plan showing the house and the well location, a drawing of the window and header, the window specification, and sometimes an engineer’s note on the header. Bring these documents to the building department before you cut anything.
Step 4: Cut and frame the opening. Once the permit is issued, the opening is cut, the header is installed, and the frame is set and fastened. Keep the frame plumb and square, and seal the perimeter with a product rated for below-grade use.
Step 5: Install the well and drainage. Set the window well against the wall, confirm that it sits level, and install the drainage at the bottom. Add the ladder or steps if the well depth requires them.
Step 6: Schedule the inspection before you finish the interior. Most inspections check the opening size, the header, the frame, the well, and the drainage. Leave the wall open until the inspector has signed off, because covering the opening before inspection is a common reason for a failed inspection and a required rework.
A practical checklist for the permit path:
- Written egress requirements from the building department
- Site plan and window drawing submitted
- Permit issued and posted at the site
- Header and frame inspection passed
- Well and drainage inspection passed
- Final inspection signed off before interior finish
Watch out: a permit issued for one window size does not cover a different size, so confirm the final window specification with the department before ordering. For a full walkthrough of the process, read step-by-step egress window installation.
Skipping the permit can cause problems when you sell the home or file an insurance claim, and an unpermitted opening may have to be corrected before a buyer’s inspection. To weigh whether you should handle the work yourself, see DIY versus professional installation.
Basement Egress Window Replacement Options Cost Breakdown
Costs depend on the style, whether you need an insert or a full replacement, how much structural work the opening requires, and the size of the window well. Pricing depends on the specifics of each project, so request a quote through our team at Berry Basements for current prices. For a dedicated breakdown of installation pricing, see egress window installation costs.
Maintenance and Long-Term Durability of Egress Windows
Egress windows sit below grade, so moisture is the main long-term risk. Keep the window well free of leaves and debris, check that drainage stays clear, and inspect the seals each year. Operating hardware should be lubricated and tested so the window opens easily when it is needed. Frames made from PVC or vinyl resist rot and corrosion better than untreated wood in a damp setting.
Requesting a Quote for Your Egress Window Project
Every egress project starts with measurements and a look at the foundation. To understand what a renovation quote covers, see basement renovation quote costs. Berry Basements offers a free estimate for basement renovation work. Contact us to schedule your estimate and get a clear plan for your basement.
Frequently Asked Questions
How much does it cost to replace a basement window with an egress window?
Costs depend on the opening size, how much foundation must be cut, excavation depth, the window well, and local permit fees. Pricing varies by quantity, dates, and delivery, so the most reliable figure comes from a measured, on-site quote. Ask any contractor to itemize the window unit, cutting and framing, excavation, well, and permit separately so you can compare bids on the same basis.
What is the best style of window for egress in a basement?
Casement and hopper windows give the largest clear opening relative to the frame, which helps meet the minimum net clear opening required by code. Sliding windows can work where the opening is wide but shallow, though they usually open to a smaller clear area than casements of the same size. The right choice depends on the room, the space available outside, and how the window will be used. Confirm the net clear opening, sill height, and operating hardware against your local code before ordering.
Do basement egress windows require a window well?
When the sill sits below grade, an egress window generally needs a window well so there is a clear area for escape and so soil does not press on the window. Check that the well’s depth, drainage, and ladder or step requirements meet your local code, since these are commonly inspected items.
Can you finish a basement without an egress window?
Whether a finished basement needs an egress window depends on whether the space is designed as a sleeping room. Bedrooms in below-grade spaces generally must have an egress opening under the building code, while playrooms, gyms, and home theaters may not. Because this rule varies by jurisdiction and by room use, confirm the requirement with your local building department before you finish the space or design the layout around it.
